Rubik’s cube is an IQ-based puzzle game that invented more than 30 years back. Also, rubik’s cube is one of the most selling games worldwide. You need more and more practice to solve a rubik’s cube puzzle. It may be a complicated game for beginners. So, you may find it impossible to accomplish if you are a fresher.
But it does not mean that you cannot solve the puzzle yourself. Yes, it is a hard game for you as a beginner, but not impossible! You have to start with the basic cube, such as 2×2 rubik’s cube. Then you should move on to the complex like 3 x 3 rubik’s cube and 4 x 4 rubik’s cube.
So, after learning how to solve a basic rubik’s cube, you can go for the solution of 4 x 4 rubik’s cube. All you need to do is to purchase the best 4×4 cube depending on some features, including speed and smoothness, corner-cutting, stability, and catch.
Learn the mechanism and algorithm of rubik’s cube
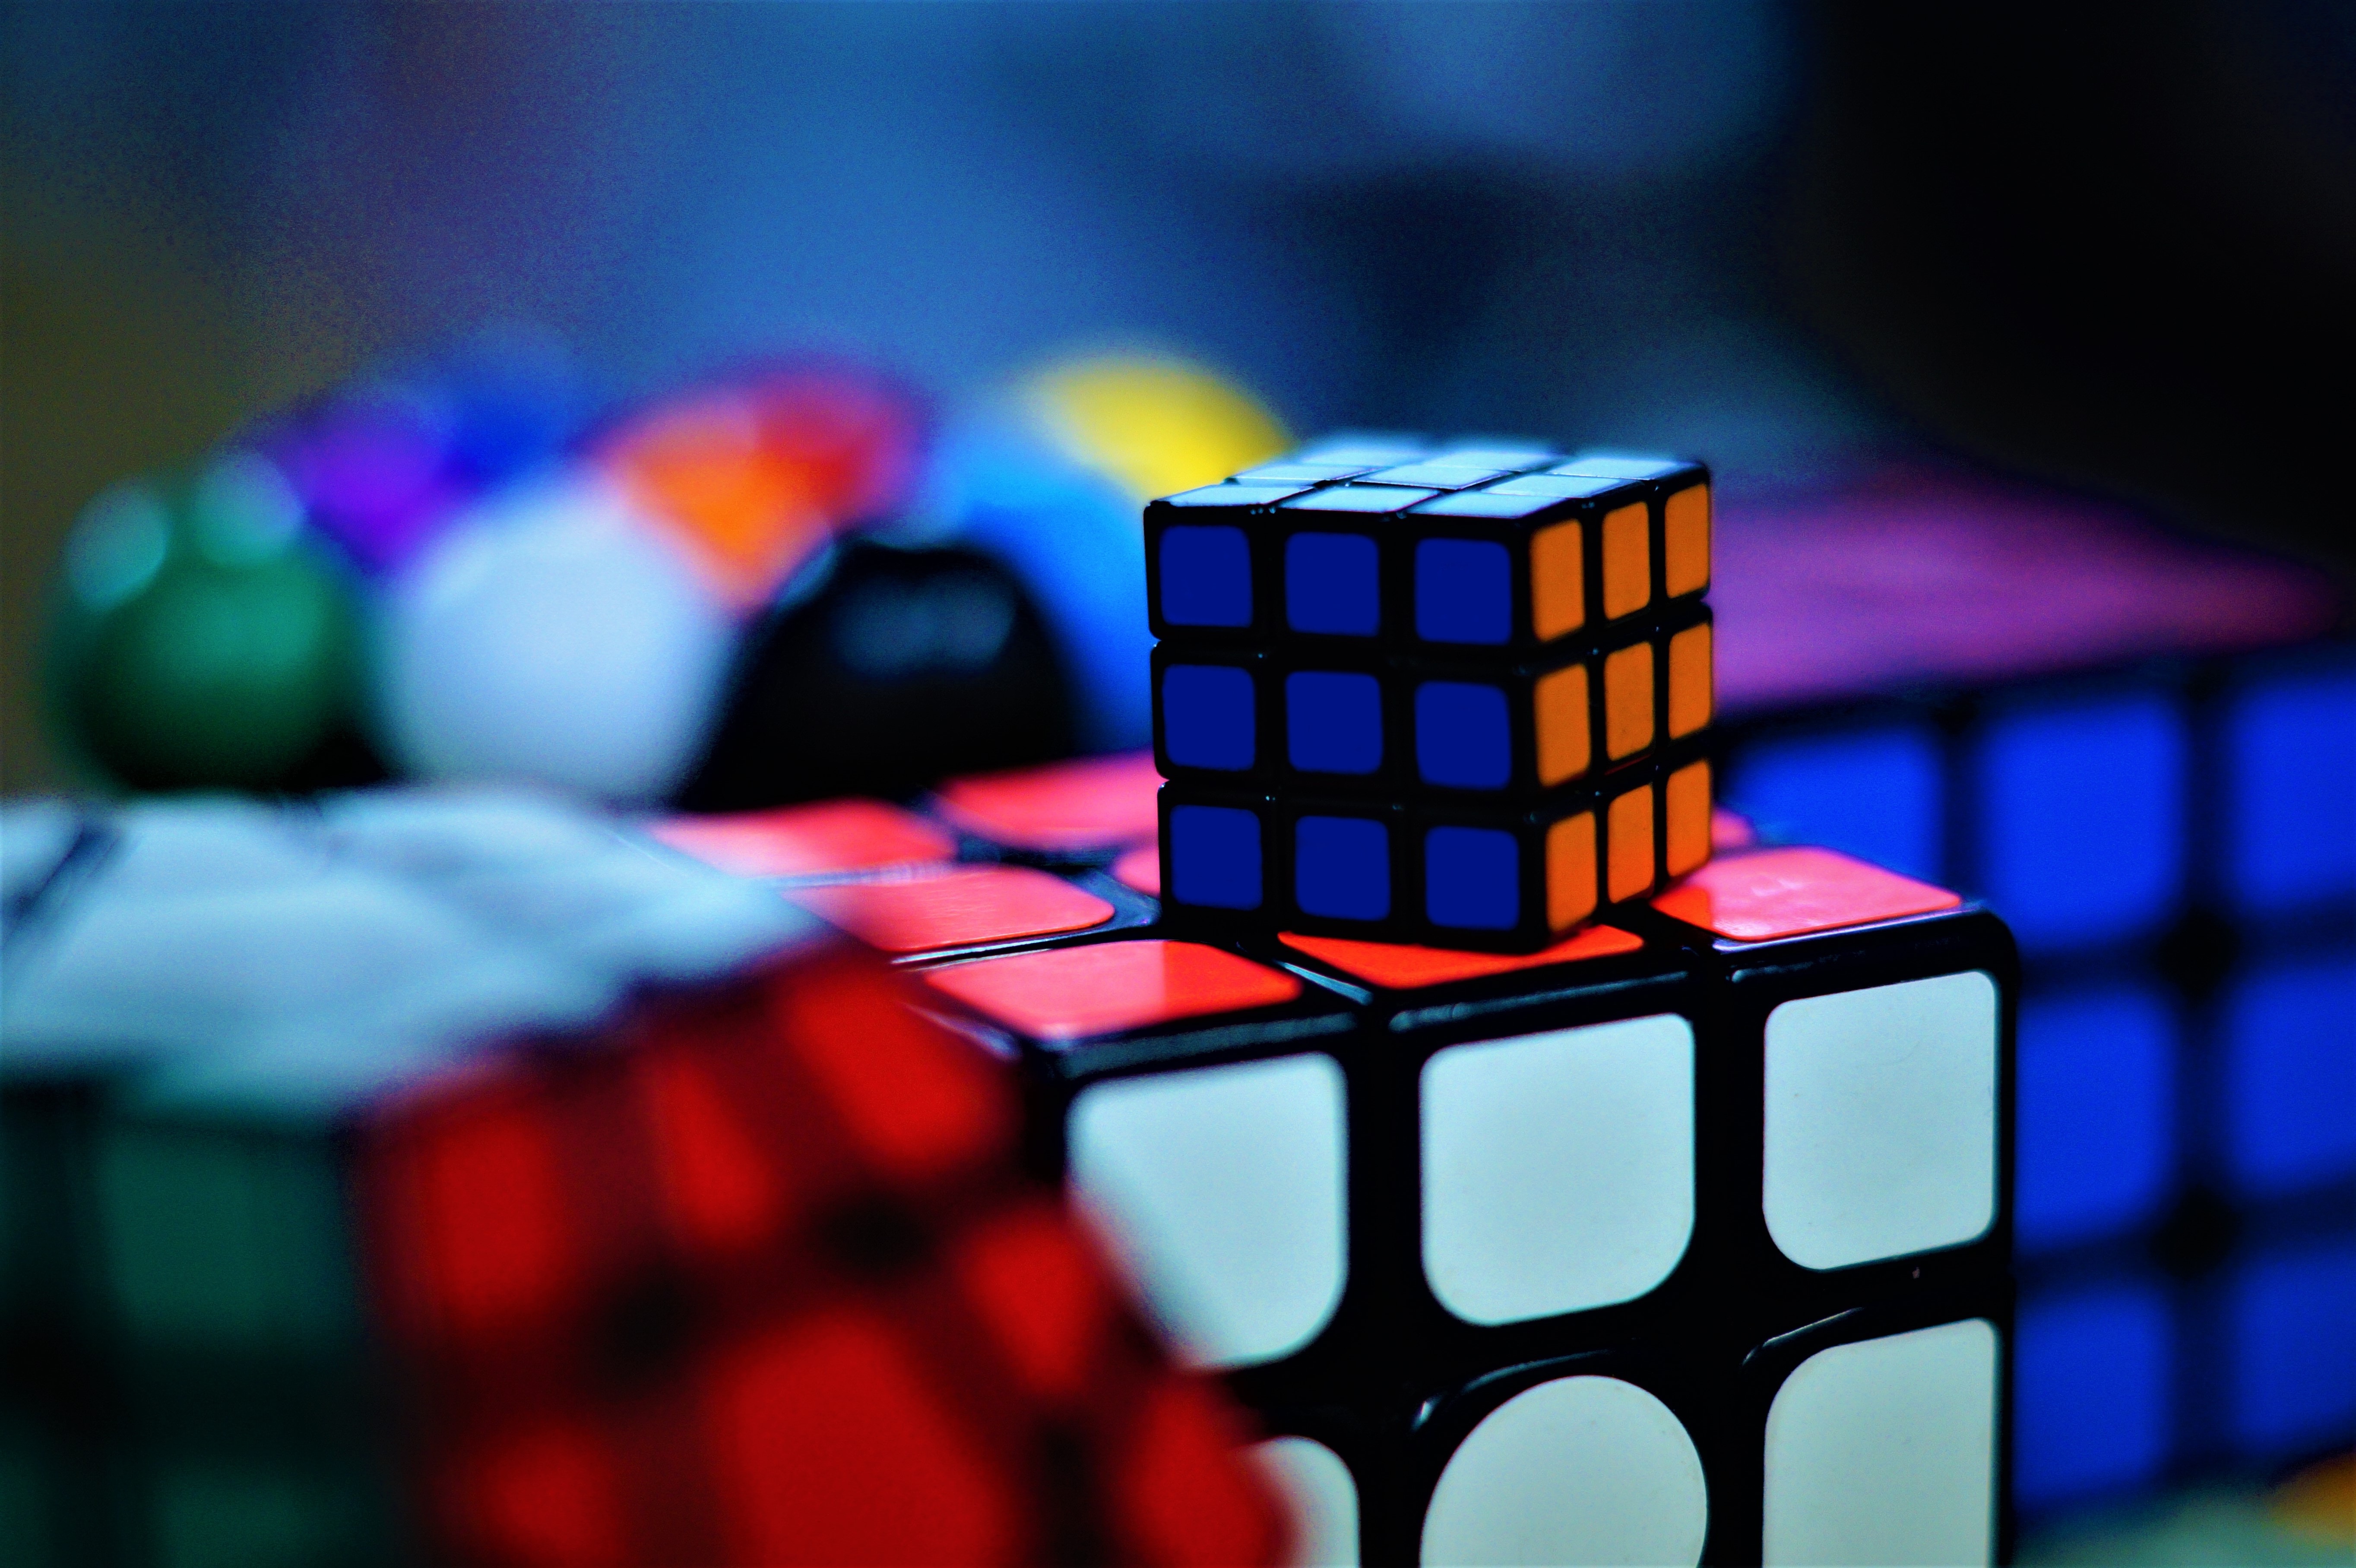
To start solving a rubik’s cube, you have to learn some mechanisms and algorithms first, much like the formulaic way many of today’s top athletes utilize. These will help you speed up your solving process. In a rubik’s cube, there are mainly three pieces. Each piece has its specific color to consider. They are as follows:
Corner piece: There are mostly eight corner pieces having three separated color stickers.
Edge piece: You should find twelve edge pieces containing two different colors.
Centerpiece: You can consider it as a static piece of the cube. There have six centerpieces presenting only one color. They are also attached to the main-middle part, as well.
Let’s learn the cube move notations
If you don’t have a clear concept about the notation, aka the Us, Ds, Ls, and so on, you will be confused about solving the cube’s puzzle. So, learning and understanding the terms before starting will be a wise decision for you, especially as a beginner.
U stands for Up.
D stands for Down.
L stands for Left.
R stands for Right.
F stands for Front.
B stands for Back.
You also need to learn about some other terms related to the puzzle- clockwise and counterclockwise.
Now, according to me, you are almost ready to start the puzzling and show your talent in this field. Some need more time, while some require less time. It depends on your practice. The more you practice, the more you will be efficient in solving the cube.
So, let’s get started right now!
Step #1: Top layer should come first with its edge pieces
Choosing a specific color to begin is ideal. And, you have to solve four pieces in this step. Most people go with the white color, so do you. But you can also pick yellow colors to start with, making it your beginning color.
As you already know that the centerpiece is not movable, you should try the rest to solve the edge of the cube. Accomplish it wisely by bringing the white piece to the middle and never take the white center to the side. The cube will be solved just layer by layer, not face by face.
Step #2: Top layer’s corner pieces should come into the play
In this step, you have to match the four corner pieces of the upper face. Be attentive in this step because you have to match the corner piece not only with the center piece but also to the left and right corners as well.
You can carry out it by inserting one corner piece in its complete position. Place an unsolved corner at the bottom layer and keep it rigid where you think it should be. Just solving an edge will make your entire process easy. You can solve the corner having a white sticker in it to the top side by two different steps.
Step #3: Middle layer’s edge piece
In this section, you have to match the four edge pieces of the center or middle layer. To do so, you need to complete the first two layers.
Keep the solved layer at the bottom by flipping the cube. Here, select an edge piece that will be your reference piece to match with others. You can insert the edge piece into their position by following the below algorithm.
U’ => L’=> U=> L=> U=> F=> U’=> F’ U=> R=> U’=> R’=> U’=> F’=> U
To complete other three pieces, you can apply the same process.
Step #4: Orientation of the last layer
In this step, you don’t need to solve the pieces as you have already done. Instead, you have to rotate them in their respective position so that they can complete the puzzle. You can also apply a simple but essential algorithm here to be done.
R’=> U’=> F’=> U=> F=> R
This algorithm will help you achieve your goal.
Step #5: Last layer corner needs a permutation
You should not make things messy in this step. All you have to accomplish here is to make the corners right away. You should place the corner pieces to their respective position. Make sure you are not going to orient them.
All you can see here are two different likely positions of the corner pieces. These corners can be adjacent or diagonal to each other. You may apply a simple but essential algorithm in this step to solve the corners.
L => R’ => U’ => R => U => L’ => U’ => R’ => U => R
This algorithm will help you to rotate the corners counterclockwise leaving the fourth corner in its right position.
Step #6: Last layer corner’s orientation
Your aim should be to orient the corners, not the pieces’ match. The following algorithm will determine the process.
L => U => L’ => U => L => U2 => L’ => U2 R’ => U’ => R => U’ => R’ => U2 => R => U2
Apply the algorithm and you will see the result. If you see that you have a well oriented corner, it will be easier for you to solve the puzzle with ease.
Step #7: Permutation of the final layer edge pieces
There are two crucial algorithms you can apply in this step to finish your cube puzzle.
R => U’ => R => U => R => U => R => U’ => R’ => U’ => R2
R2 => U => R => U => R’ => U’ => R’ => U’ => R’ => U => R’
These algorithms do the same thing as the previous one but in an opposite direction.
If you have patience and follow the steps stated above, you are sure to solve the rubik’s cube. And, by continuing your practice, you will be a pro solver!